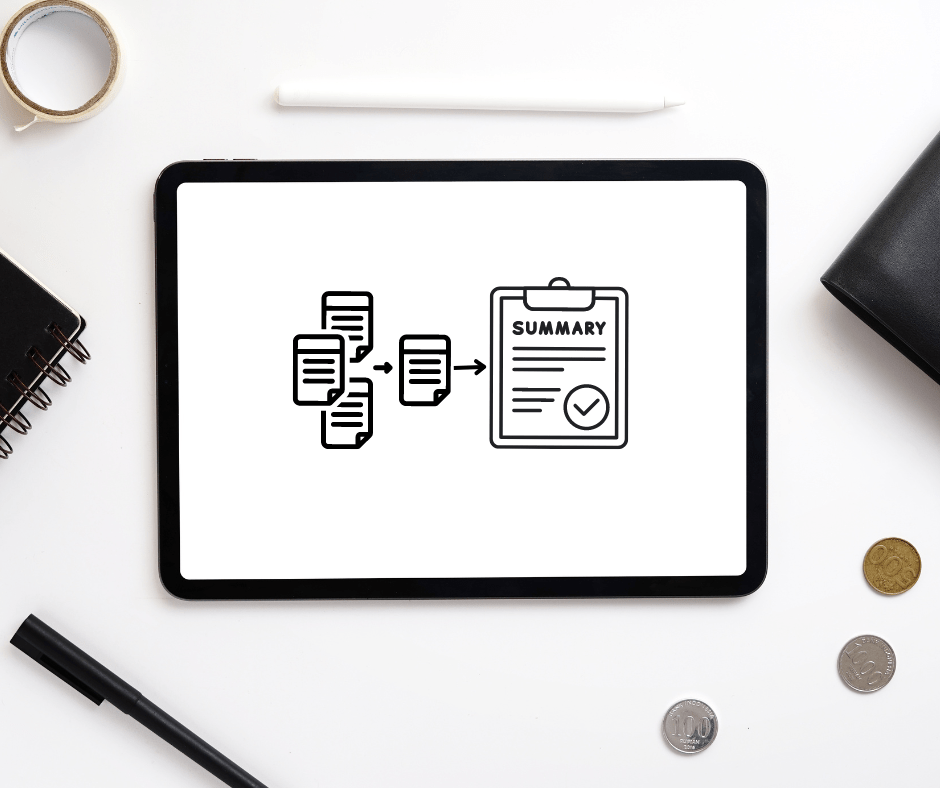
NotebookLM is an exciting tool that allows you to create and share interactive notebooks effortlessly. Whether you’re a data scientist, educator, or enthusiast, NotebookLM provides a platform to explore data, experiment with code, and collaborate with others. It is designed to supercharge your research process and it acts as your personal research assistant, helping you organize information, answer questions, and even generate creative text formats. In this blog, we will walk you through the process of getting started with NotebookLM, from signing up to creating your first notebook.
Step 1: Sign Up and Log In
Head to the official NotebookLM website [NotebookLM] and check their eligibility requirements. Currently, NotebookLM is in beta testing and limited to users 18 and over in the US. If you qualify, proceed with signing up using your Google account.
Step 2: Explore the Interface
Once logged in, familiarize yourself with the interface. You’ll see two main sections:
- Left Panel: Source Management – This panel allows you to add research materials. You can upload Google Docs, PDFs, or simply paste text directly.
- Right Panel: Work Area – This is where you create “notebooks” for specific projects. Each notebook holds your sources, notes, and interactions with NotebookLM’s AI.
Step 3: Build Your First Notebook
Click the “+” button to create a new notebook. Give it a descriptive title that reflects your research topic.

Step 4: Add Your Sources
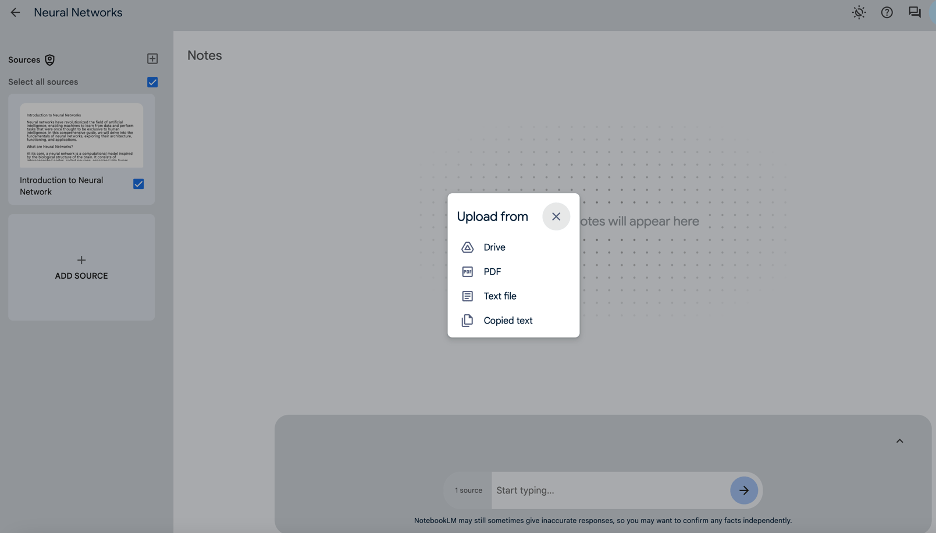
Now, it’s time to feed your notebook with information. Click the “Add Source” button in the left panel and choose your preferred method:
- Upload from Google Drive: Select a relevant document from your drive.
- Upload PDF: Choose a research paper or article in PDF format.
- Text File: Choose a text file.
- Paste Text: Copy and paste text directly from your research materials.
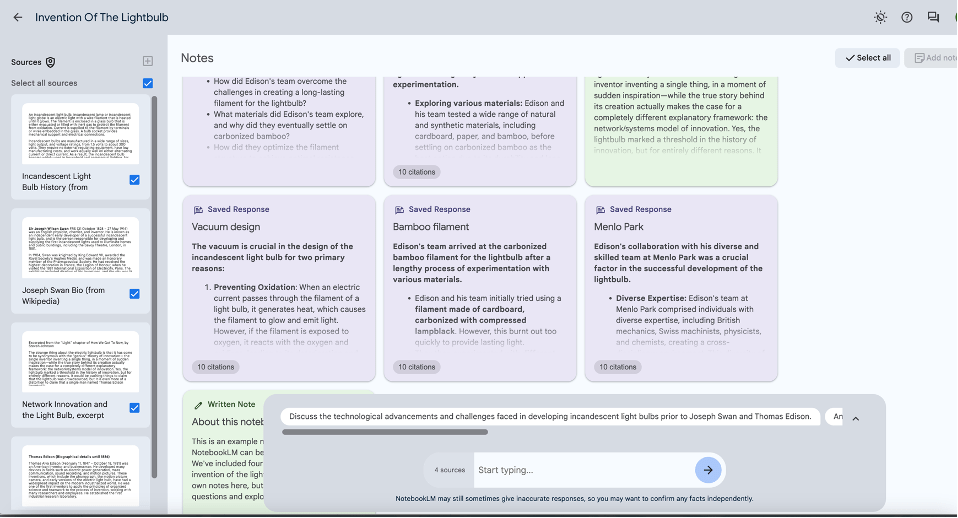
When you upload a new source to NotebookLM, the app instantly creates a source guide that summarizes the document and offers key topics and questions to ask. Currently NotebookLM supports only the listed source types, and each source can contain up to 200,000 words. You are limited to 100 notebooks and each notebook can contain up to 20 sources and 1,000 notes.
Step 4: Unleash the Power of AI
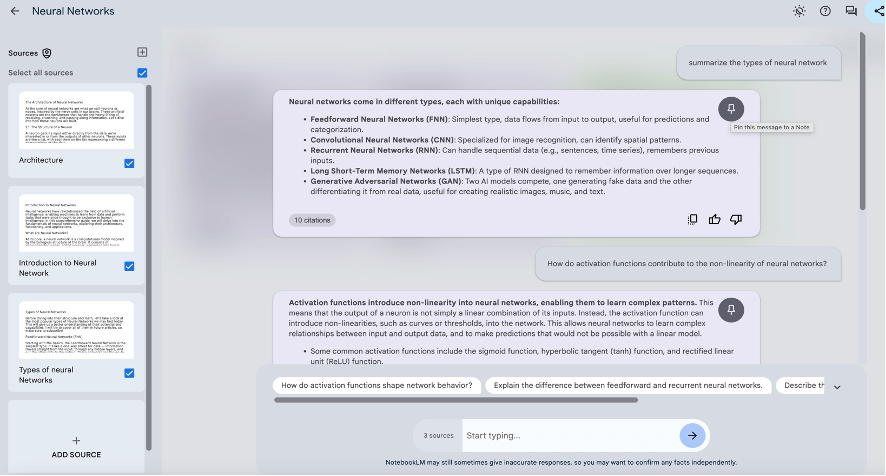
Here’s where the magic happens! With your sources loaded, you can interact with NotebookLM’s AI in several ways:
- Ask Questions: Dive deeper into your research by asking specific questions related to your sources. NotebookLM can answer factual queries, clarify concepts, or even generate creative text formats like outlines or summaries based on your content.
- Take Notes: Jot down important points or personal reflections alongside your sources for better organization.
- Explore Suggested Actions: NotebookLM will provide suggestions based on your content. This could include prompting you with follow-up questions or offering to rewrite a section of your writing in a different style.

Step 6: Refine and Repeat
- The beauty of NotebookLM lies in its iterative approach. As you add more sources, ask questions, and take notes, your understanding of the topic will evolve. Keep refining your research by adding new information and leveraging the AI’s capabilities to gain fresh insights.
Bonus Tip: Explore sample notebooks available on the NotebookLM website to get a feel for the platform’s potential and see how others are using it for their research.
By following these steps, you’ll be well on your way to mastering NotebookLM and transforming your research experience. Remember, this is an ongoing process of exploration and discovery. So, experiment, ask questions, and leverage the power of AI to become a research pro.
